Starting your first stream can feel overwhelming. There is software to install, gear to test, and a dozen settings you have never heard of. But you really do not need a £2,000 setup to go live. Thousands of streamers started with nothing more than a laptop and a webcam. The secret is following a streaming starter checklist, not owning all the best gear.
This streaming starter checklist walks you through everything you need, organised into clear, practical steps. Whether you are streaming on Twitch, YouTube, or TikTok Live, these fundamentals stay the same. Tick each item off and you will be ready for a smooth first stream with no last minute panic.
Hardware: The Essentials
You do not need a pro studio. But there are a few things you absolutely cannot skip.
Your Computer (or Console)
Your PC or Mac is the engine of your stream. Streaming encodes video in real time, and that takes processing power. If you are using a console (PS5, Xbox Series X, Nintendo Switch), the hardware is handled for you. Just add a capture card if you want to stream through a PC with overlays.
For PC streamers, here is what to aim for:
Check before your first stream: Run a test stream recording (not live) and play your game for 10 minutes. If your game stutters or the recording lags, you need to lower game settings or streaming resolution.
A Webcam (or Not?)
Face cams are not mandatory. Plenty of successful streamers (especially in creative and speedrunning communities) never show their face. But for most new streamers, a webcam helps viewers connect with you faster.
Budget-friendly webcam picks:
| Webcam | Resolution | Price Range | Best For |
|——–|———–|————-|———-|
| Logitech C920 | 1080p/30fps | £60–80 | Best all-round starter cam |
| Razer Kiyo | 1080p/30fps | £50–70 | Built-in ring light included |
| Logitech C270 | 720p/30fps | £20–30 | Ultra-budget, perfectly usable |
| Elgato Facecam | 1080p/60fps | £130–150 | Sharper image, no software bloat |
Do this before your first stream: Position your webcam at eye level or slightly above. Looking down at the lens makes you look distracted; looking up makes the framing awkward. Test your lighting: a £15 ring light makes a bigger difference than a £200 webcam.
A Microphone Worth Using
Viewers forgive choppy video. They rarely forgive bad audio. If you invest in one upgrade after your first few streams, make it a microphone.
Starter microphone options:
Pre-stream audio check: Record a 30-second clip of yourself speaking at your normal streaming volume. Listen back. Can you hear keyboard clacking? Fan noise? Room echo? Fix these before going live. OBS filters like Noise Suppression and Compressor do wonders.
Lighting: The Cheap Upgrade That Changes Everything
Your webcam can only work with the light it receives. A poorly lit face looks grainy, washed out, or shadowy no matter how expensive your camera is.
Simple lighting solutions:
Test: Turn on your webcam feed in OBS. Does your face look clear and evenly lit? If not, add light. Do not crank your webcam’s gain or brightness settings. Gain adds grain.
Software: What to Install
Streaming Software
You have three main options for streaming on PC. We have a full breakdown in our best free streaming software guide, but here is the quick version:
Action: Download your chosen software, install it, and run the auto-configuration wizard. This sets your bitrate, resolution, and encoder to sensible defaults for your hardware.
Scenes and Sources: Your First Setup
Before going live, create at least three scenes in OBS (or your chosen software):
1. Starting Soon — A static screen with your stream name, social handles, and a countdown. Use a free overlay template to make it look professional without designing anything yourself. Premium packages like the Skeleton Key Professional package include ready-made Starting Soon, BRB, and Ending screens that match your whole channel.
2. Live / Gameplay (your main scene): game capture (or window capture), webcam overlay, and alert box. This is where you will spend 90% of your time.
3. BRB / Ending (shows when you step away): lets viewers know you have not crashed.

Test every scene: Switch between them in OBS. Do all sources appear? Does your webcam show? Are game captures working? Nothing is more frustrating than going live and realising your game is invisible.
Add an Overlay
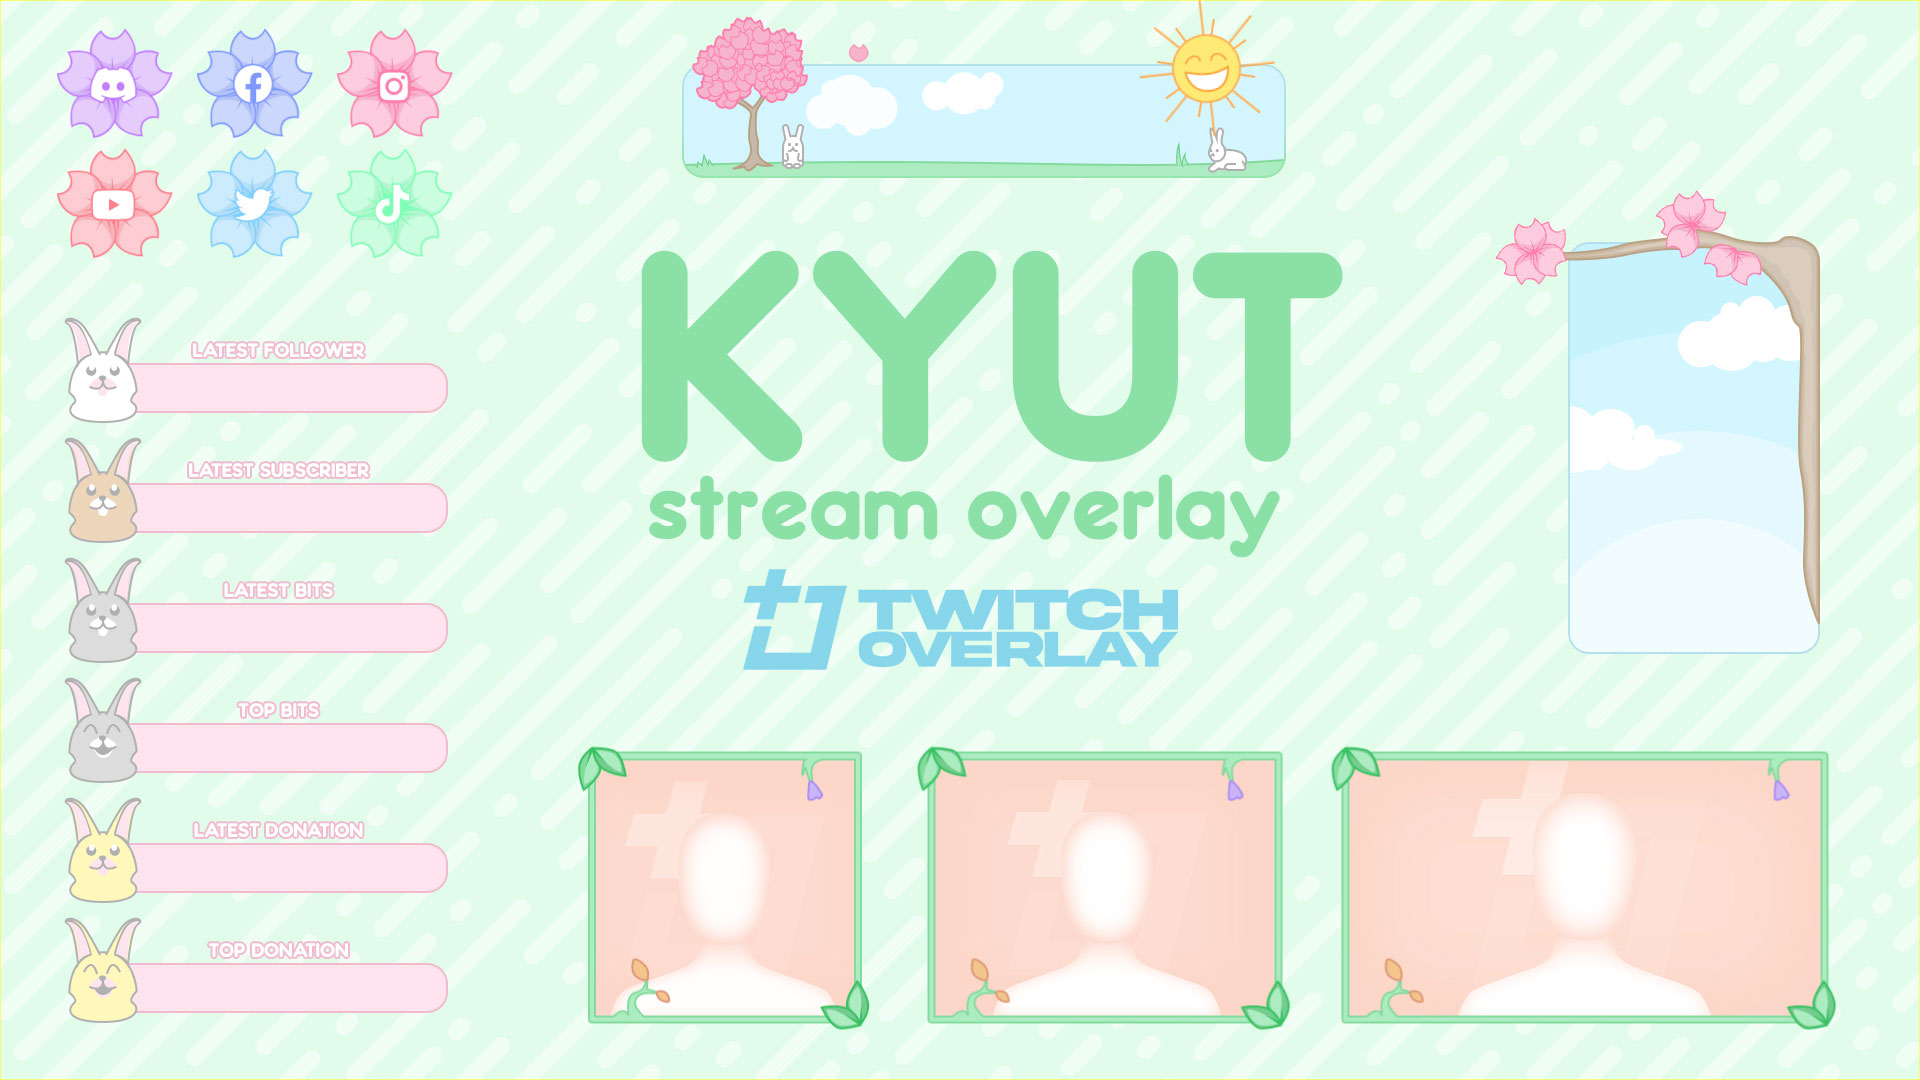
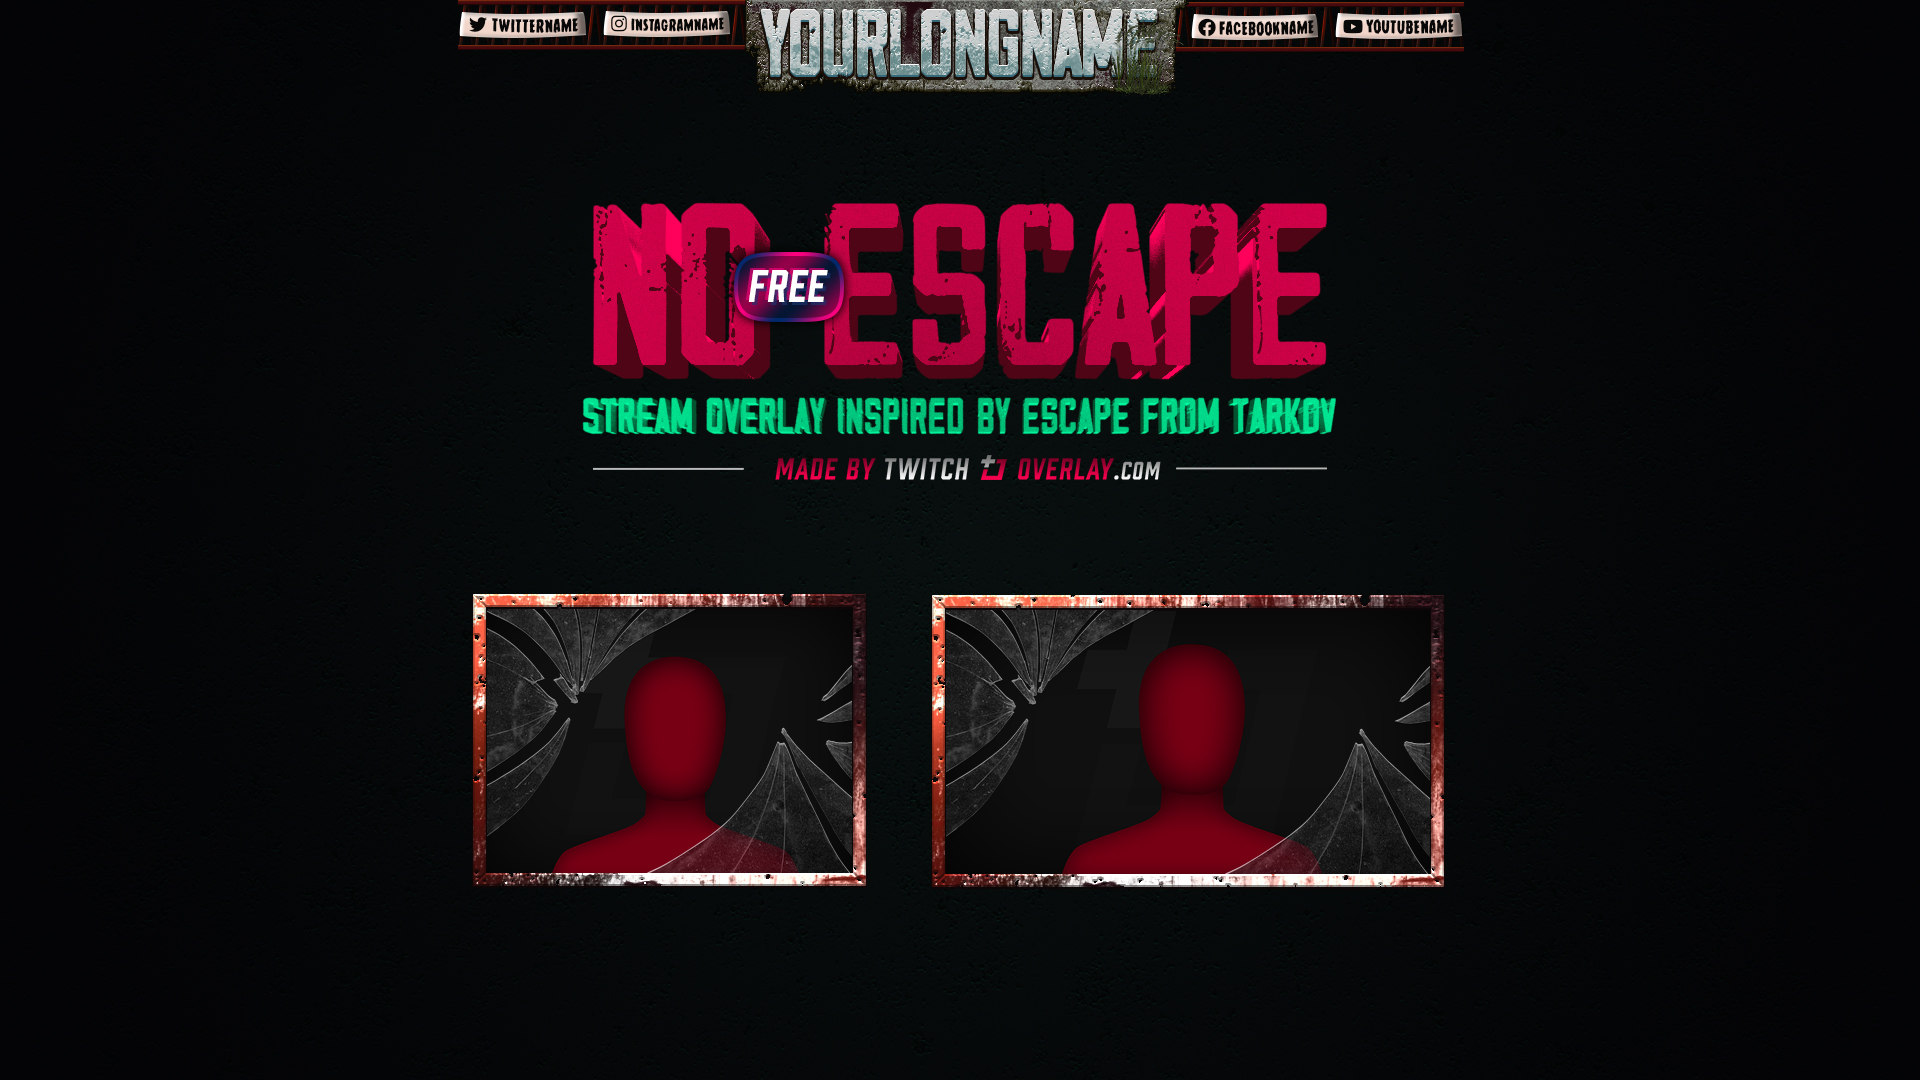
An overlay is the visual layer on top of your stream: webcam borders, alerts, follower displays, and channel branding. You can start with a simple free overlay from twitchoverlay.com/free and upgrade later.
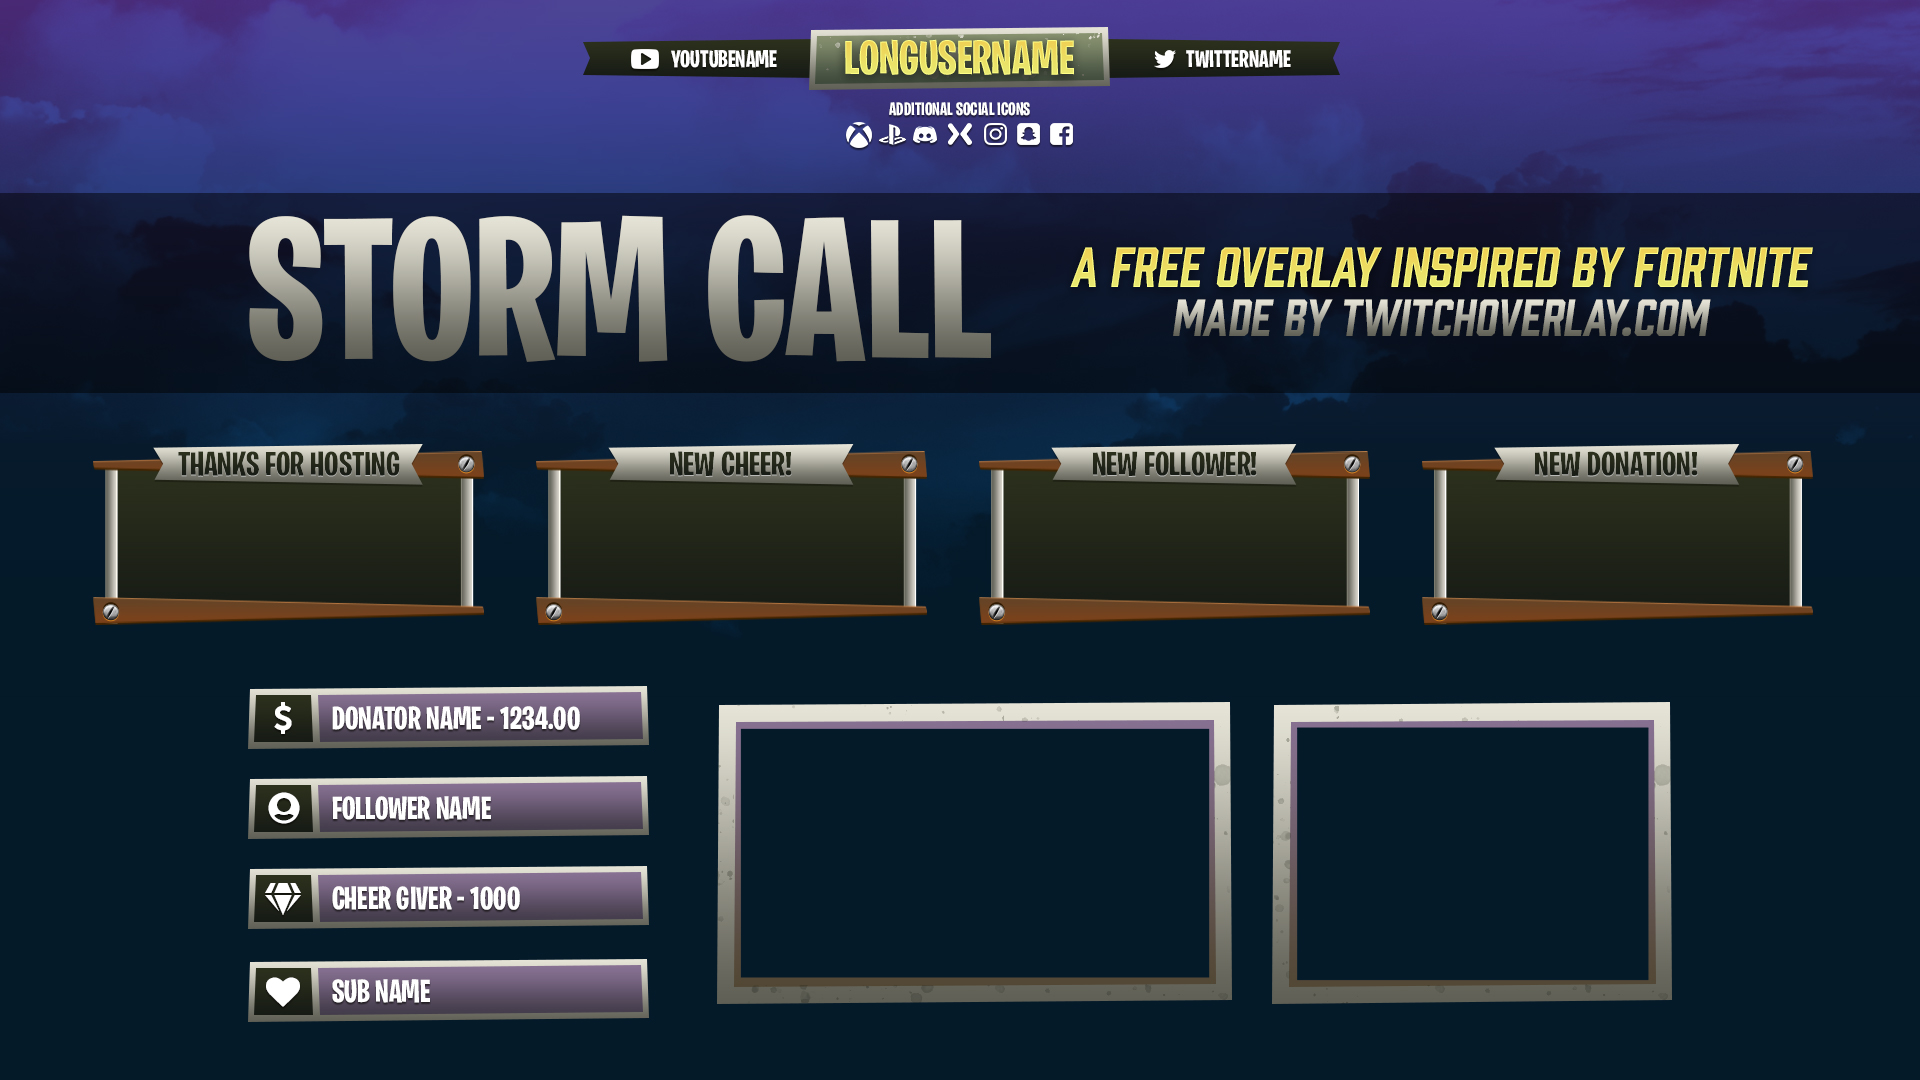
Why overlays matter, even for your first stream:
If you want something more distinctive, premium overlay packages like the Spray Paint Overlay, Minimal Twitch Overlay, or Kyut Cute package come with matching scenes, panels, alerts, and webcam frames, everything matches out of the box.
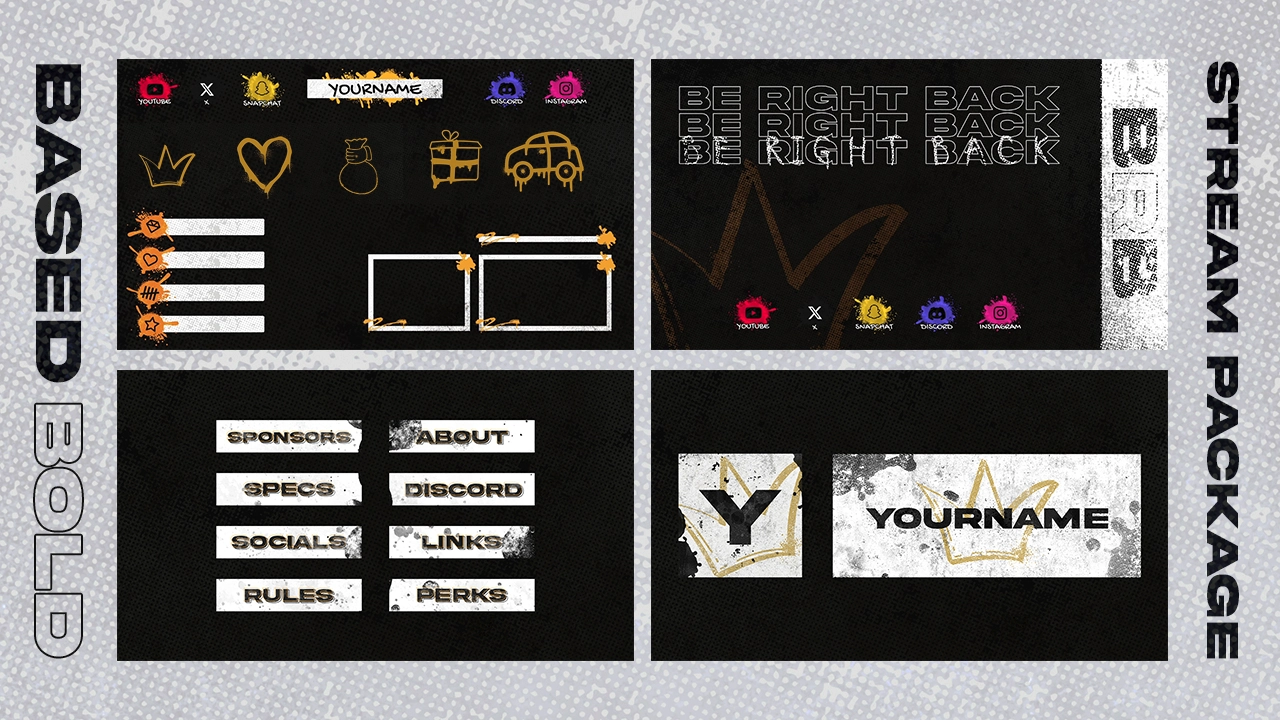
Pre-stream check: Install your overlay scenes. Confirm alerts work by doing a test follow (you can do this in most alert services’ test mode). Adjust webcam size and position so it does not cover critical game UI, especially minimaps and health bars.
Internet Connection: The Make-or-Break Factor
Your stream quality is capped by your upload speed, not your download speed.
Minimum Requirements
| Quality | Resolution | Bitrate | Minimum Upload Speed |
|———|———–|———|———————|
| Basic | 720p/30fps | 2,500–3,500 Kbps | 4–5 Mbps |
| Standard | 720p/60fps | 3,500–5,000 Kbps | 6–7 Mbps |
| High | 1080p/60fps | 6,000 Kbps | 8–10 Mbps |
Action: Run a speed test at speedtest.net. Look at your upload speed, not download. If your upload is below 5 Mbps, stream at 720p/30fps with a 2,500 Kbps bitrate.
Wired Over Wireless (Always)
Wi-Fi is convenient. It is also inconsistent. A single microwave cycle or neighbour’s Netflix binge can cause dropped frames. If your router is in another room, get a powerline adapter (£30–50) that sends internet through your electrical wiring. Not as fast as direct Ethernet, but far more stable than Wi-Fi.
Pre-stream check: Plug in via Ethernet if possible. If you must use Wi-Fi, test a 10-minute stream recording and check for dropped frames in OBS (View → Stats). More than 2% dropped frames means your connection needs attention.
Twitch Server Selection
OBS usually picks the closest Twitch ingest server automatically. But sometimes it chooses wrong. In OBS, go to Settings → Stream → and manually test nearby servers using a tool like TwitchTest (Windows) or by doing short test streams to each one.
Platform Setup: Your Channel Pages
Twitch Channel Setup
Before your first stream, your channel page should not look empty:
Action: Open your channel page in an incognito browser window. Does it look like a real channel someone would want to click on? If not, spend 30 minutes on it.
Alert Services
Alerts are the pop-ups that appear when someone follows, subscribes, or donates. They turn passive viewers into active participants. The main services are:
Pre-stream check: Set up at least a follower alert and a simple donation/tip alert (even if you do not expect tips on stream one. It is easier to set up now than mid-stream). Test them using the service’s test button.
Chat Moderation
Your first stream might only have a few viewers. But as you grow, chat can get chaotic fast. Set these up now so you never have to scramble:
Pre-stream check: Open your chat as a viewer (log into a second account or use incognito mode). Does AutoMod work? Can you see your rules?
The Final 15-Minute Pre-Stream Checklist
This is the run-through you do right before going live every single time:
Audio and Video
Stream Output
Scenes and Sources
Channel Ready
You, the Streamer
What NOT to Worry About for Your First Stream
New streamers often get stuck trying to perfect things that do not matter yet. Here is what you can safely ignore until you have 10+ streams under your belt:
Checklist Summary: Your First Stream Toolkit
Here is the complete streaming starter checklist at a glance. Save this, print it, or keep it open on your phone:
| Category | Minimum Setup | Recommended Upgrade |
|———-|————–|——————-|
| Computer | i5 / 8GB RAM / GTX 1050 | i7 / 16GB RAM / RTX 2060 |
| Webcam | None (no-cam is fine) | Logitech C920 or Razer Kiyo |
| Microphone | Gaming headset mic | USB condenser (Yeti, Wave:1) |
| Lighting | Window light | Ring light (£15–30) |
| Software | OBS Studio (free) | OBS + StreamElements alerts |
| Internet | 5 Mbps upload, wired | 10+ Mbps upload, Ethernet |
| Overlay | Free template | Premium matching package |
| Audio filters | Noise suppression (built-in) | Compressor + limiter chain |
| Alerts | Follower alert only | Full alert suite with custom design |
After Your First Stream
Once you end your first stream, do not just close OBS and walk away. Take ten minutes to:
1. Watch your VOD: Skip through your broadcast. How is the audio balance? Are there dead-air moments where you went silent? Is the video smooth? Take notes.
2. Check your stream summary: Twitch’s Creator Dashboard shows average viewers, peak viewers, new followers, and chat activity. Do not obsess over numbers, but note what worked.
3. Thank anyone who showed up: Even if it was just one person. They chose to spend time with you. That matters.
4. Schedule your next stream: Consistency is the single biggest growth factor for small streamers. Same days, same times, every week.
FAQ: Streaming Starter Questions
Do I need a powerful PC to start streaming?
Not really. Many streamers started with a standard laptop and basic webcam. The key is optimising your settings: lower your resolution to 720p, use hardware encoding if available, and close unnecessary background apps. You can always upgrade later as your channel grows.
How much should I spend on my first streaming setup?
You can go live for under £150. A decent webcam (~£50), a basic microphone (~£30), and good lighting (~£20) covers the essentials. Start with free software like OBS Studio and skip the capture card until you add a console or second PC.
What bitrate should I use for my first stream?
For 720p at 30fps, start with 2500-3500 kbps. That balance keeps the stream watchable without buffering for most viewers. If your upload speed handles it, 4500 kbps at 720p 60fps looks noticeably smoother for fast games. Check your internet speed first.
Twitch, YouTube, or TikTok Live — which is best for beginners?
Each platform has trade-offs. Twitch has the biggest streaming community and the best discovery tools for live content, but your VODs expire unless you save them. YouTube Live is easier for discoverability through search and your VODs stay forever. TikTok Live pushes your stream to people who do not follow you, which can help you find an audience fast. Many streamers start on one and add others later.
How do I stop my stream from lagging or dropping frames?
The usual culprits are low upload speed, wrong encoder settings, and Wi-Fi interference. Plug your PC into ethernet instead of Wi-Fi. Set your video bitrate to 3000 kbps and try 720p output. In OBS, use hardware encoding (NVENC on NVIDIA, AMF on AMD, or Apple’s VideoToolbox on Mac). If frames still drop, lower your in-game graphics settings so your GPU has room for encoding.
Can I stream without showing my face?
Absolutely. A surprising number of successful streamers use only a voice-over with gameplay or a PNG/Vtuber avatar. You can start with a simple “no cam” scene that shows your game and chat. Add your face when you feel comfortable.
Ready to Go Live?
Your first stream will not be perfect. Nobody’s is. But with this checklist, you have eliminated the preventable problems: bad audio, missing scenes, and blank channel pages. Everything else is practice.
If you want your stream to look polished from day one without spending hours designing, grab a free overlay from twitchoverlay.com/free or browse the premium collection for matching scenes, panels, and alerts that make your channel look like you have been streaming for years.
Now tick off that last box, hit Go Live, and have fun. That is the whole point, after all.
—
Looking for more setup guides? Read our OBS Studio settings guide for beginners and how to set up your webcam and microphone.