
If you've never set up an overlay before, OBS can feel like a cockpit. It isn't. Once two ideas click, scenes and sources, the whole thing takes about twenty minutes. This guide walks you through it from a blank OBS install to a stream that looks finished.
We'll use OBS Studio, since that's what most streamers run in 2026 and version 31 and up has solid browser-source support. Streamlabs and Twitch Studio work the same way with slightly different menus, and we'll note the differences as we go.
First, the two words that matter
Scenes are layouts. Think of each scene as one moment of your stream: the Starting Soon screen, the live gameplay view, the Be Right Back screen, the Ending screen. You switch between them during a broadcast.
Sources are the individual things inside a scene: an image, a video, your webcam, your game capture, an alert. You stack and arrange sources to build each scene.
That's the whole mental model. A stream is a handful of scenes, and each scene is a stack of sources. Everything below is just adding the right sources to the right scenes.
Step 1: Create your scenes
In the Scenes box at the bottom left, click the plus icon and add a scene. Name it something obvious like "Starting Soon." Repeat until you have four:
- Starting Soon
- Live
- Be Right Back
- Ending
You can always add more later, but these four cover a normal stream.

Step 2: Add your background and screens
Select your Starting Soon scene. In the Sources box, click the plus icon and pick the source type that matches your file: a still image (PNG, JPG) goes in as Image; an animated background (MP4, WebM, or GIF) goes in as Media Source.
Browse to the file, click OK, then drag the corners in the preview to position and size it. Do the same for your Be Right Back and Ending screens in their scenes. If your overlay pack came with these, you'll have a matching file for each.
Step 3: Build your Live scene
This is the one viewers stare at for hours, so it's worth getting right. In your Live scene, add sources in this order, bottom to top, since OBS layers them from the bottom of the list up:
- Game Capture or Display Capture for your gameplay.
- Video Capture Device for your webcam.
- Image or Media Source for your overlay frame, the graphic that frames the cam and gameplay.
Drag the webcam so it sits inside the frame's camera cutout. Lock the overlay source once it's placed so you don't nudge it by accident. There's a small lock icon next to each source.
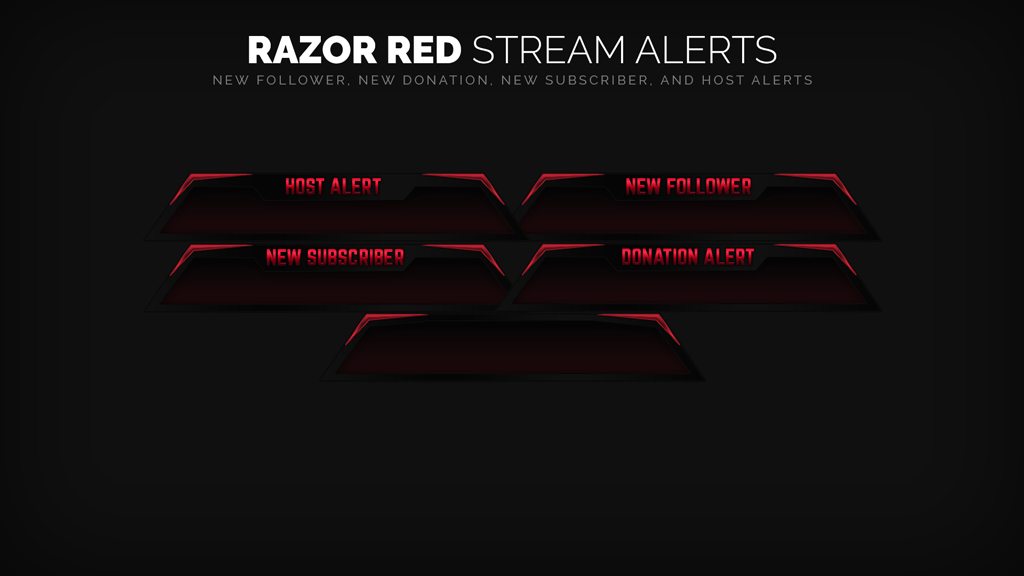
Step 4: Add alerts
Alerts are the pop-ups that fire on a follow, sub, donation, or raid. Most come from a service like StreamElements or Streamlabs as a hosted page, so you add them as a Browser source.
Copy the alert URL from your alert service, add a Browser source in your Live scene, paste the URL, and set the width and height to match your canvas (usually 1920 by 1080). The alert stays invisible until it triggers, so don't worry that the box looks empty in preview.
If your overlay pack includes custom alert graphics, your alert service lets you upload them in place of the defaults so the animation matches the rest of your look.
Step 5: Add panels (this part happens on Twitch, not OBS)
Panels are the info boxes under your stream, and they live on your Twitch channel page rather than in OBS. On Twitch, turn on panel editing under your channel, add a panel, upload the panel image from your pack, and link it where it should go, like your schedule or socials. They're static images, so this is quick.
Step 6: Add a stinger transition
A stinger is the short animated wipe that plays when you switch scenes. In OBS, open Settings, or use the Scene Transitions dropdown, add a Stinger transition, point it at the transition video file from your pack, and set the transition point so the cut happens when the screen is fully covered. Now switching from Live to BRB looks deliberate instead of abrupt.
The snags that trip people up
A few things catch almost everyone the first time:
- Browser source looks blank. That's normal for alerts. It only shows when triggered. Use your alert service's test button to confirm it works.
- Overlay is the wrong size. Make sure your canvas resolution in OBS Settings matches your overlay files, almost always 1920 by 1080. A mismatch makes everything look slightly off.
- Webcam covers the frame. Reorder sources so the overlay frame sits above the webcam in the Sources list, then resize the cam to fit the cutout.
- Animated background won't loop. In the Media Source properties, tick the loop option.
Streamlabs and Twitch Studio
The logic is identical. Streamlabs Desktop uses the same scenes-and-sources structure, and many packs ship a one-click `.overlay` file you can import straight in. Twitch Studio calls them layouts and layers but works the same way. If you ever move software, your overlay files come with you.
You're basically done
That's a complete setup: four scenes, a framed live view, working alerts, panels, and a transition. The hard part was never the software. It's having graphics that actually match, so the whole thing looks like one channel instead of parts bolted together.
If you want a matching set without hunting through free files one piece at a time, browse our free downloads. They're built to go in together, screens, frame, and alert graphics, so you can run through these exact steps and have it live on your next stream.
Browse our free downloads and follow this guide start to finish. Want every style, alert, and transition in one place? See the all-access plan.
Get the free pack See pricing